Your first Coco View extension - A small tic-tac-toe game
Table of Contents
Your first View extension - A small tic-tac-toe game
This tutorial will show you how to build your first View extension, a game that you can play right in the Coco AI app.
Still Curious? Here’s a preview of the extension. You can even install it from the Extension Store and try it out for real!
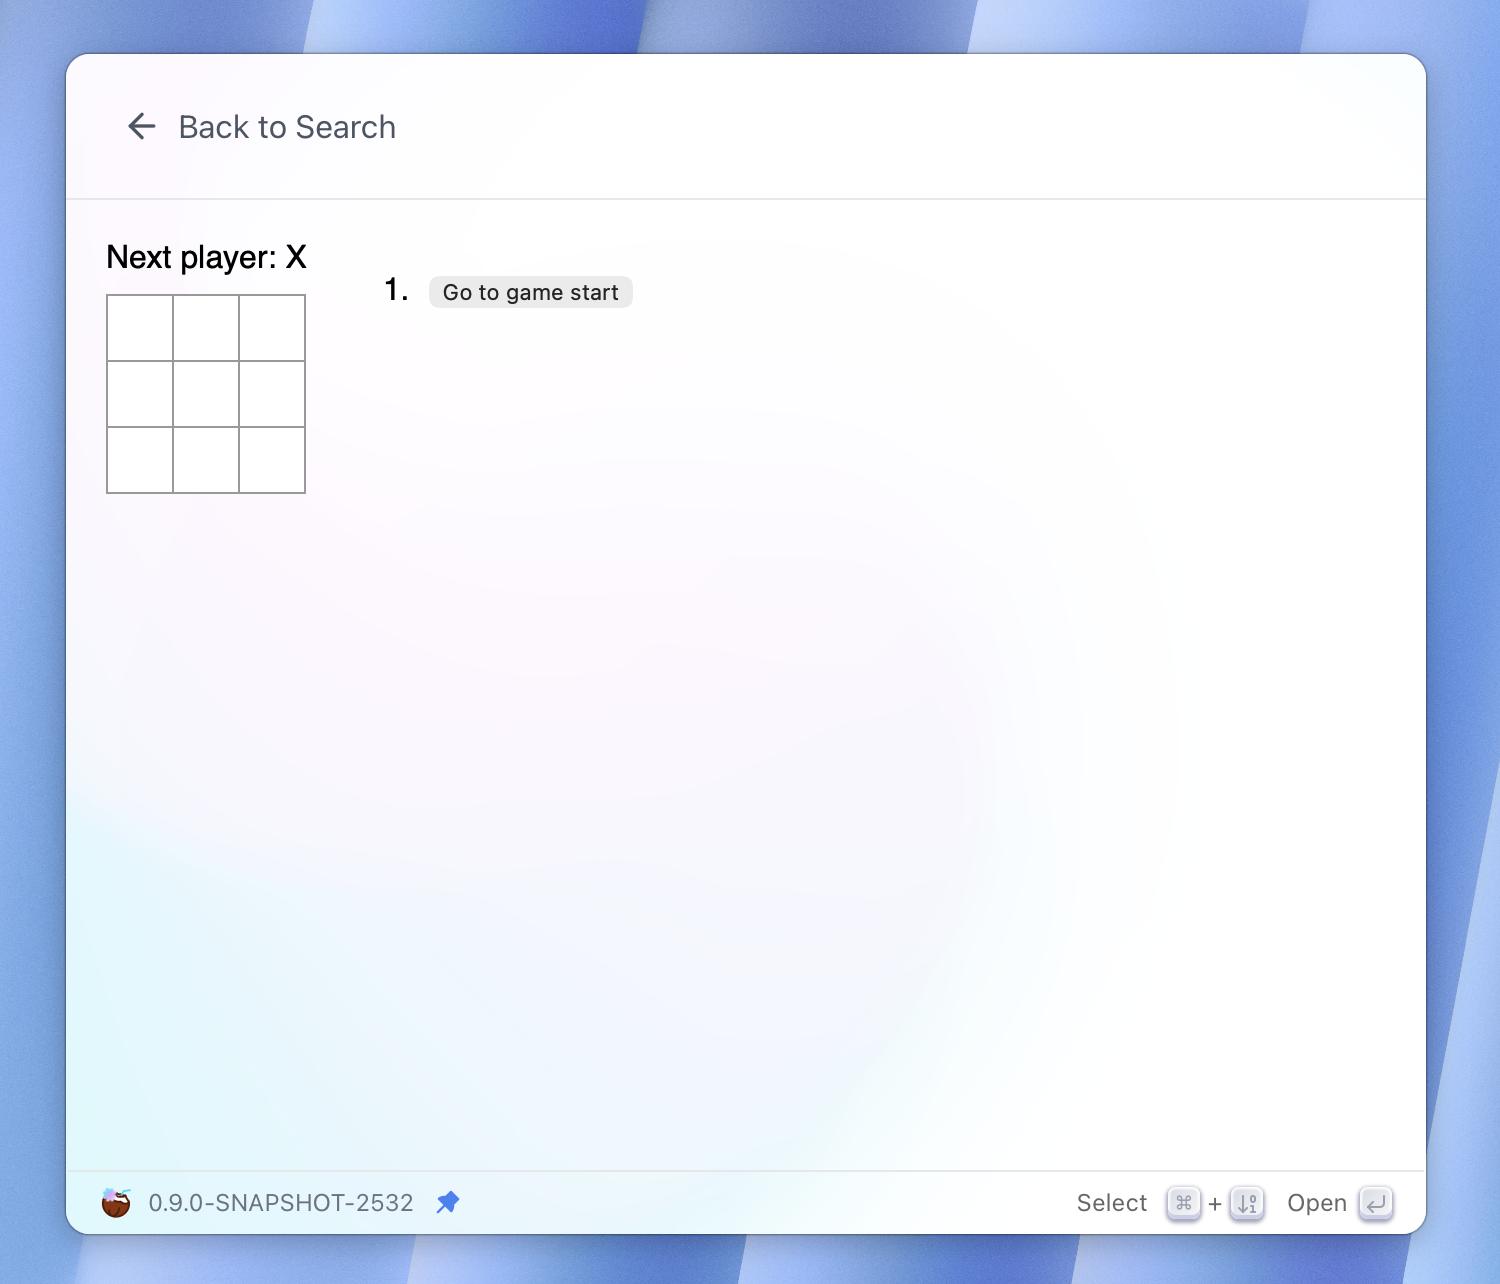
View, as its name implies, displays a custom user interface. Think of it like a canvas where you are free to draw anything you want!
You can “draw” using any web stack you love; They all work as long as they generate an HTML page that Coco can load and render. I am going to use React and demonstrate it with the project introduced in the React tutorial: Tic-Tac-Toe.
Please ensure you have npm installed, clone the repository, then build the
project:
$ git clone https://github.com/infinilabs/react-tic-tac-toe.git --depth 1
$ cd react-tic-tac-toe
$ npm install
$ npm run build
npm run build will create a build directory in the project root, you should
find files similar to:
$ ls -l build
.rw-r--r--  369 steve 10 Oct 11:14 asset-manifest.json
.rw-r--r--@ 322 steve 10 Oct 11:14 index.html
drwxr-xr-x    - steve 10 Oct 11:14 static
With the project built successfully, we can now create a plugin.json file to
turn it into a Coco extension:
$ touch plugin.json
{
  "name": "React Tic-Tac-Toe",
  "description": "Play Tic-Tac-Toe game",
  "icon": "logo.jpg",
  "type": "view",
  "platforms": [
    "macos",
    "windows",
    "linux"
  ],
  "page": "build/index.html"
}
The structure should be familiar if you have experience with Command extensions.
The main differences are the extension type (now view) and the new page field.
The page should be the path to the HTML page we talked about earlier. In our case, it would
be the index.html file under the build directory.
You can also add an icon for the extension. The recommended way to do this is
to create an assets directory in the extension root, place your icon there,
and then update the icon field in plugin.json with the filename.
And that’s it! create a web project, build it, and add a plugin.json file to
describe it. It’s that simple.