
Your first Coco Command extension - Spotify Control
Table of Contents
Your first Command extension - Spotify Control
In this tutorial, we will show you how to develop your first Command extension to control the Spotify macOS app.
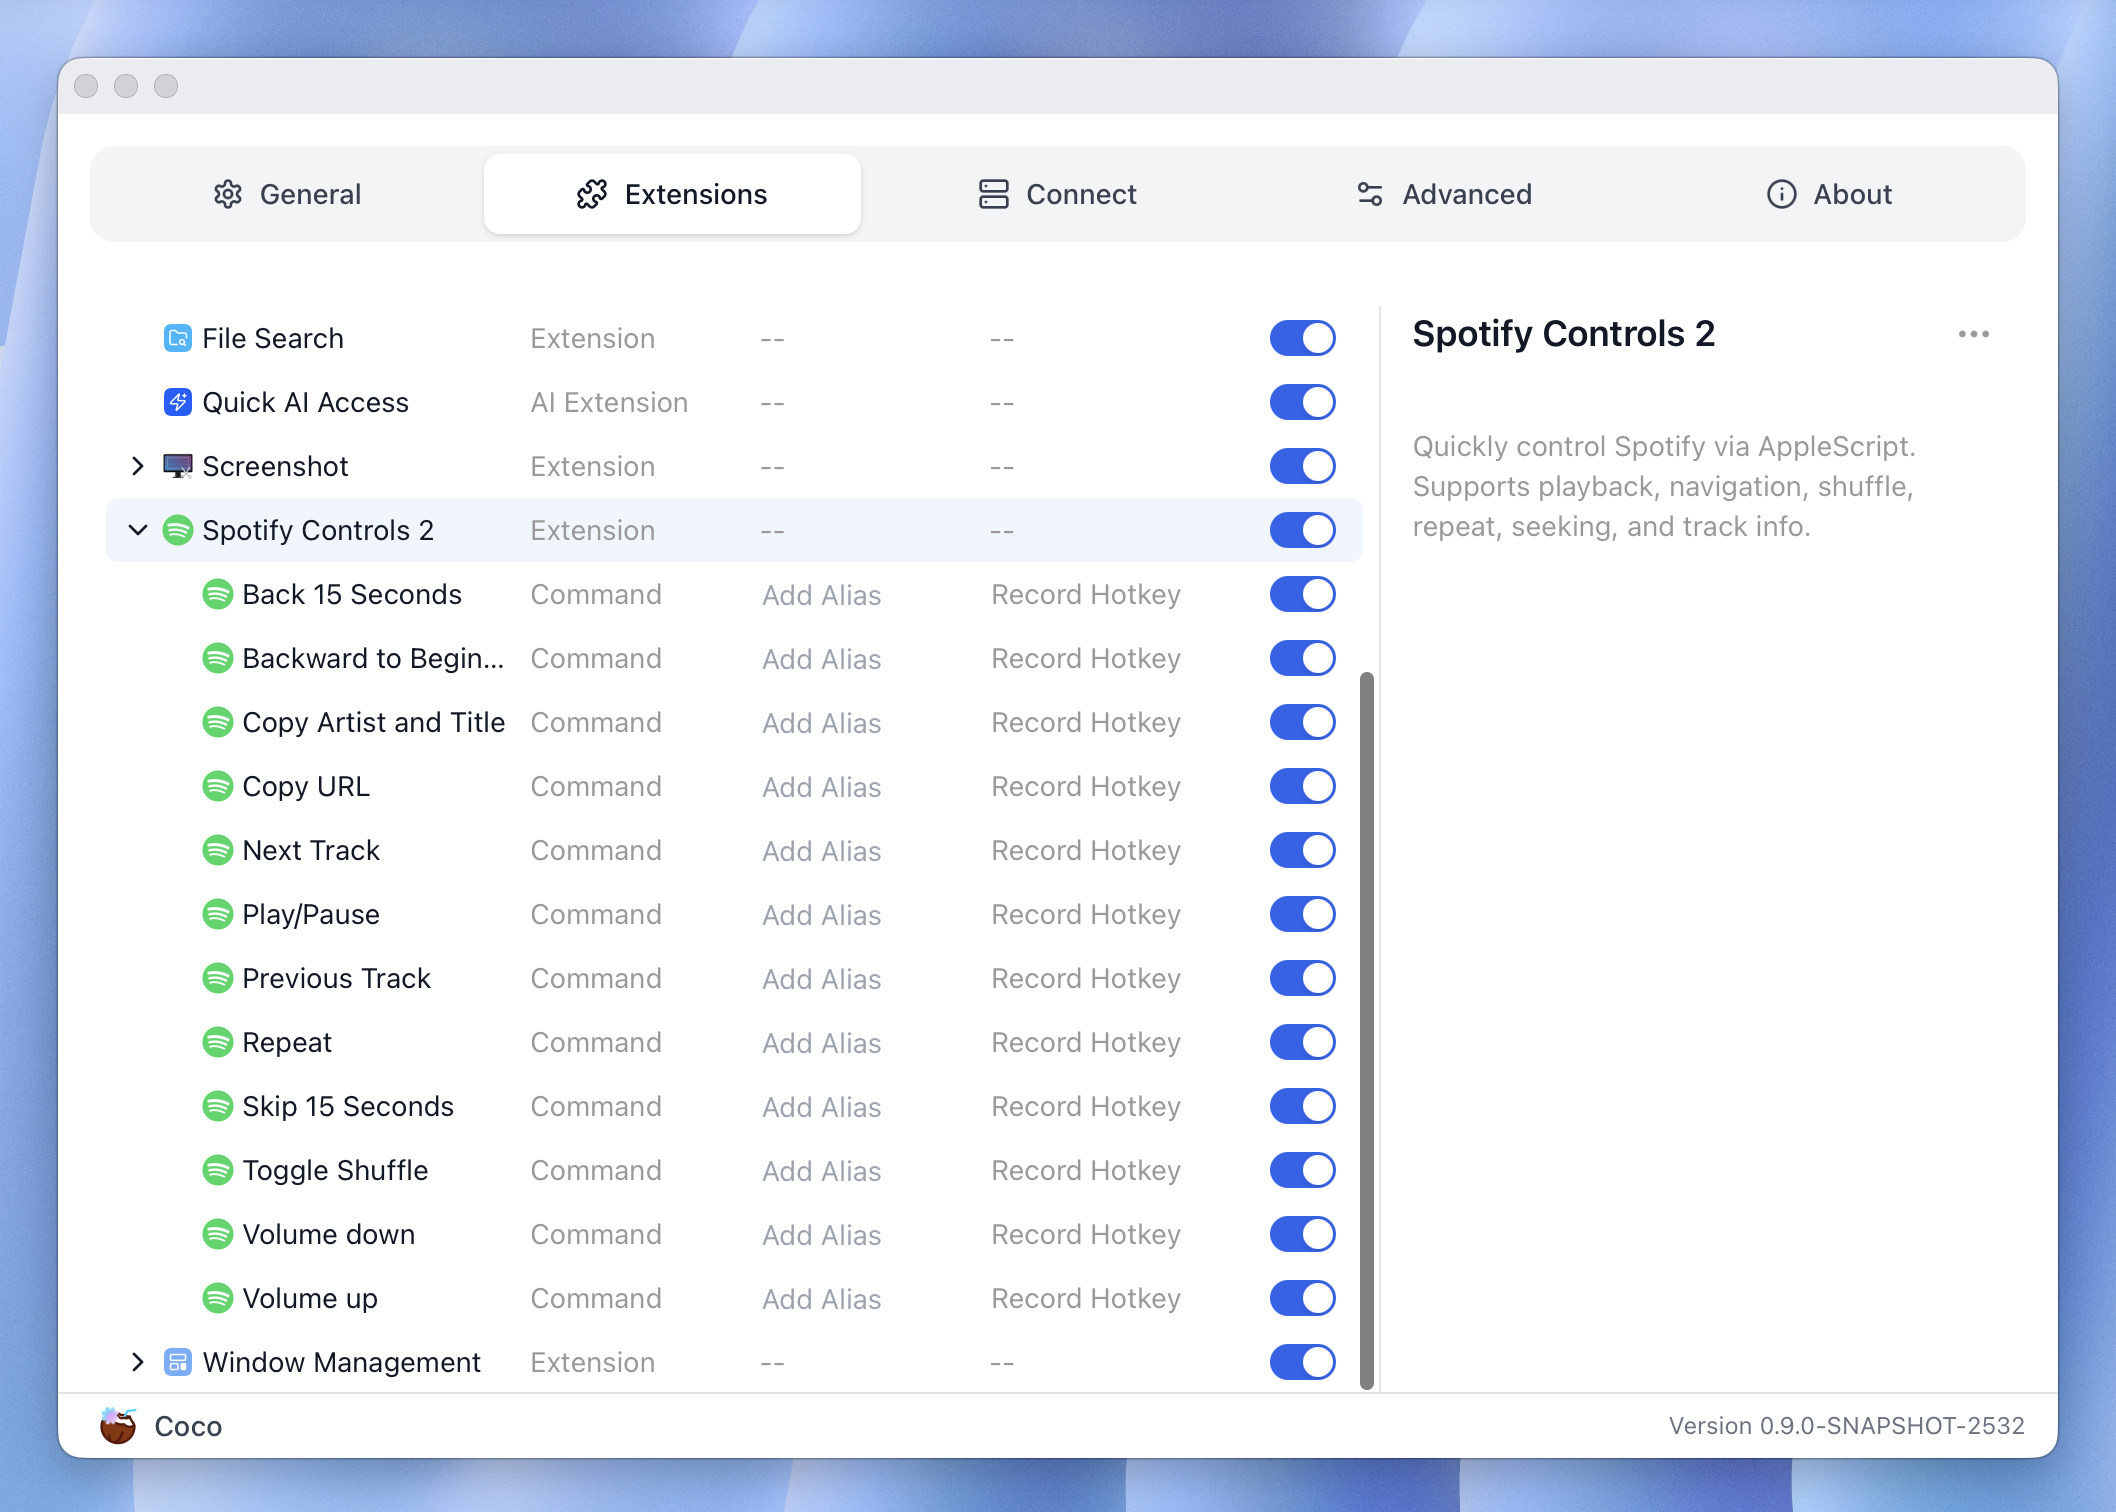
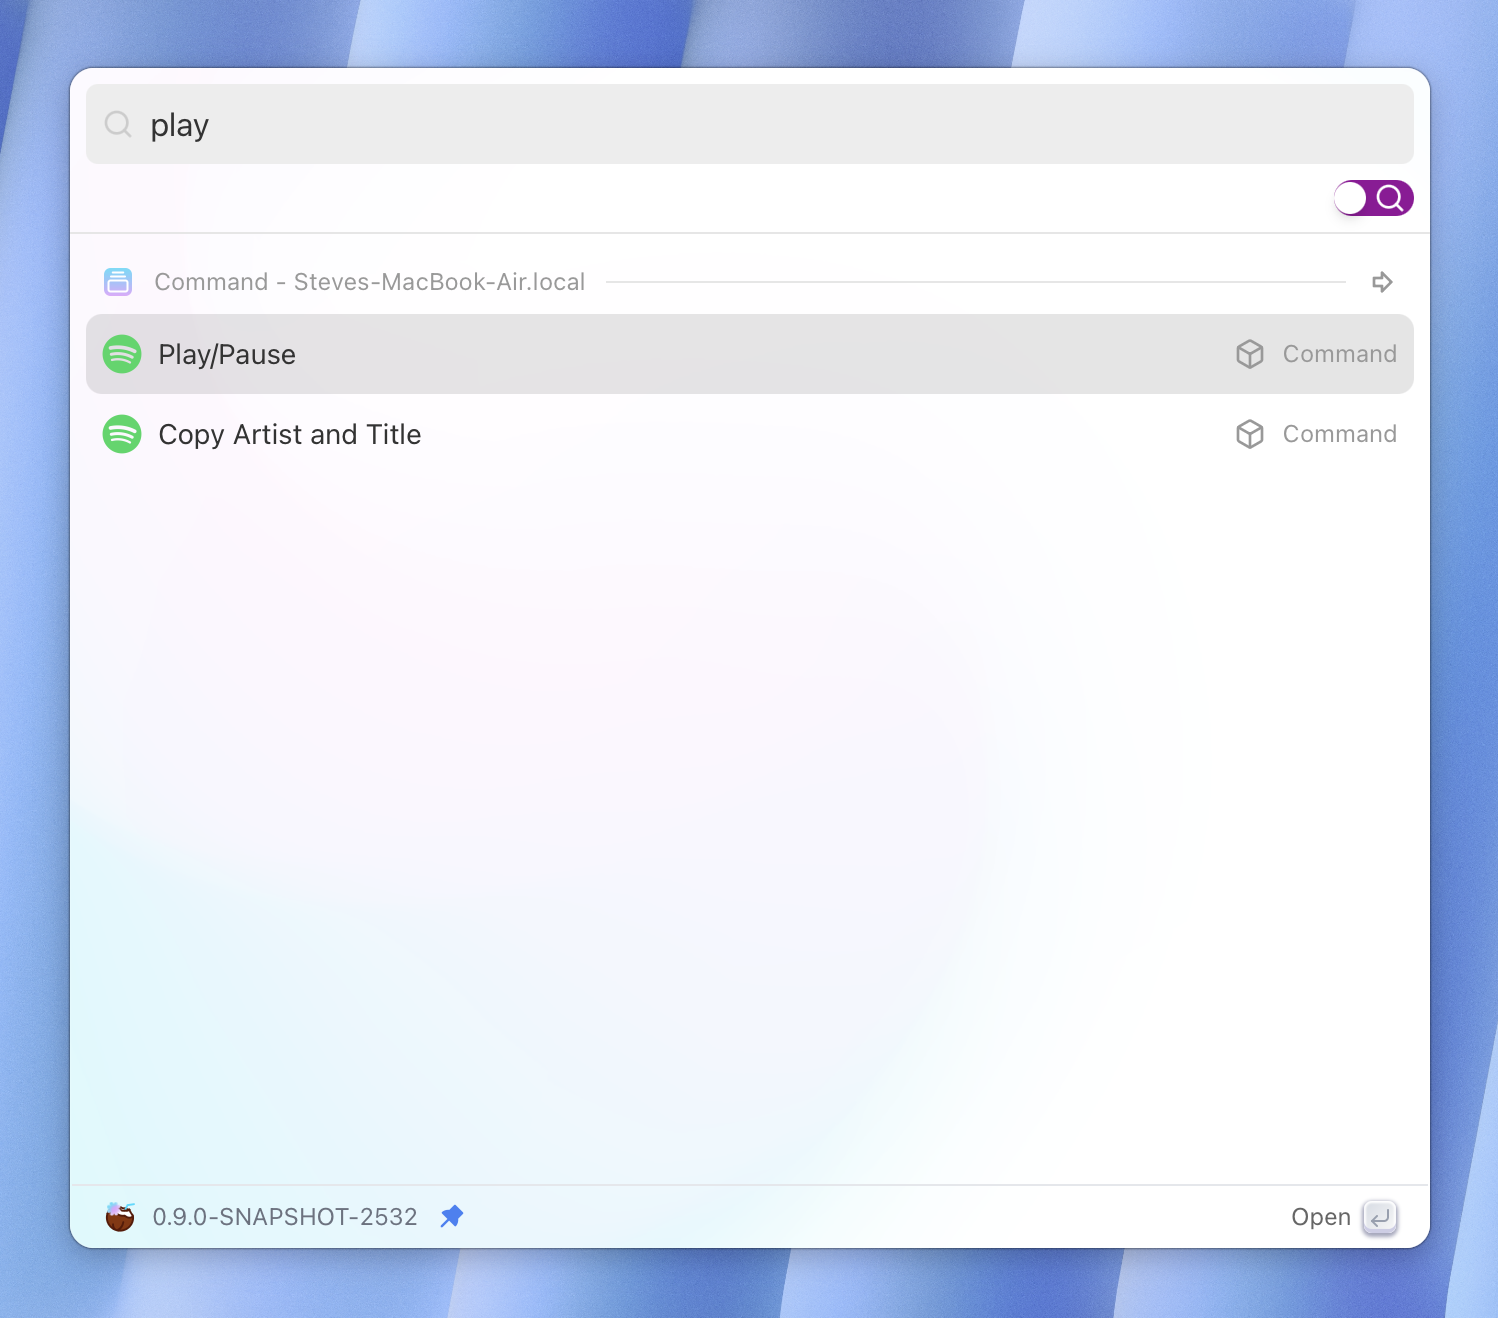
If you are interested, here is how the extension you are going to build looks like. And you can also install it from the Extension Store to actually try it out!
The Spotify macOS app exposes AppleScripts that allow you to control it from the command line, which is where Coco Command extensions shine.
$ mkdir spotify_control && cd spotify_control
$ touch plugin.json
Create a project folder anywhere you want, and then create a plugin.json file inside it.
plugin.json is the core file that describes the extension, every Coco extension
starts from this.
Then edit the plugin.json, populate the basic fields:
{
  "name": "Spotify Control",
  "type": "extension",
  "platforms": [
    "macos"
  ],
  "icon": "bring your own icon",
  "description": "Control Spotify playback with commands to play/pause, and skip to the next or previous track.",
  "commands": [...]
}
The type of this extension is extension, which behaves like a container for
sub-commands. Since this extension leverages AppleScripts, it is macOS-only, so
the platforms fields only contains “macos”.
You can choose your own icon, I am going to omit that for simplicity. Then we add a “description” field.
Sub-commands are declared in the “commands” field, which is an array of JSON
objects. There objects are similar to the one we have here, except with a
different type command.
{
  "commands": [
    {
      "name": "Toggle Play/Pause",
      "type": "command",
      "icon": "bring your own icon",
      "description": "Toggles play or pause of current track in Spotify.",
      "action": {
        "exec": "osascript",
        "args": [
          "-e",
          "tell application \"Spotify\" to playpause"
        ]
      }
    }
  ]
}
Here is our first command: “Toggle Play/Pause”. As you can see, its type is
command. Similarly, it has its own “icon” and “description”. We omit the
“platform” field because all these commands support the same platforms supported
by the main extension. The “action” field is a field exclusive to Command
extensions, it defines the action that will be performed when we run this
extension, i.e., to run a command.
{
  "exec": "osascript",
  "args": [
    "-e",
    "tell application \"Spotify\" to playpause"
  ]
}
We run Apple Script from CLI via the osascript command, the above JSON is
equivalent to doing this in your shell:
$ osascript -e 'tell application "Spotify" to playpause'
Once you understand how this command works, it is easy to replicate it to create other commands. You can view the full command list here.
For how to test the extension you developed, see Import your extension to test it.

